
Blog (with comments)
Blog with Comment
This project adds commenting functionality to Next.js blog application using Upstash and Auth0.
The comment box requires Auth0 authentication for users to add new comments. A user can delete their own comment. Also admin user can delete any comment.
Comments are stored in Serverless Redis (Upstash).
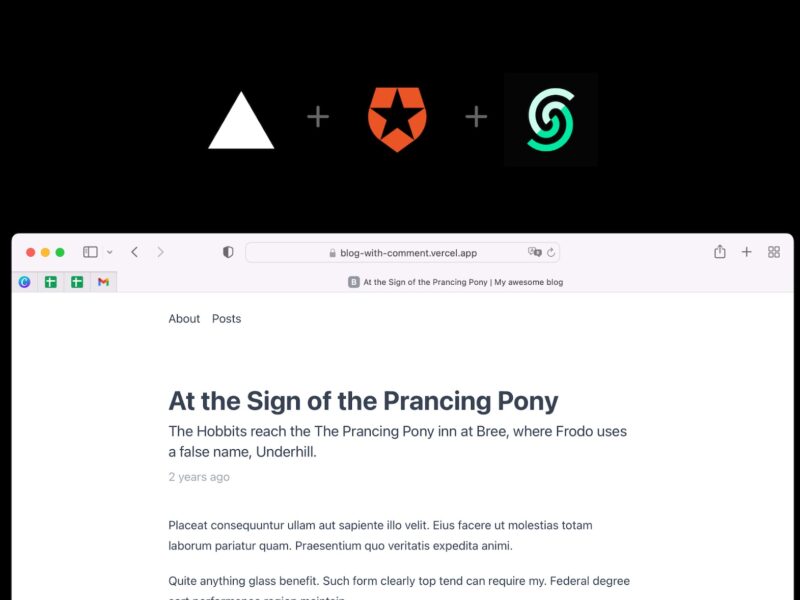
Demo
https://blog-with-comment.vercel.app/
1 Project set up
Execute create-next-app with npm or Yarn to bootstrap the example:
npx create-next-app --example blog-with-comment blog-with-comment-app
2 Set up environment variables
Copy the .env.local.example file in this directory to .env.local (which will be ignored by Git):
cp .env.local.example .env.local
3 Configuring Upstash
Go to the Upstash Console and create a new database
Upstash environment
REDIS_URL: Find the URL in the database details page in Upstash Console clicking on Redis Connect button.
4 Configuring Auth0
- Go to the Auth0 dashboard and create a new application of type Single Page Web Applications.
- Go to the settings page of the application
- Configure the following settings:
- Allowed Callback URLs: Should be set to
http://localhost:3000/when testing locally or typically tohttps://myapp.com/when deploying your application. - Allowed Logout URLs: Should be set to
http://localhost:3000/when testing locally or typically tohttps://myapp.com/when deploying your application. - Allowed Web Origins: Should be set to
http://localhost:3000when testing locally or typically tohttps://myapp.com/when deploying your application.
- Allowed Callback URLs: Should be set to
- Save the settings.
Auth0 environment
NEXT_PUBLIC_AUTH0_DOMAIN: Can be found in the Auth0 dashboard undersettings.NEXT_PUBLIC_AUTH0_CLIENT_ID: Can be found in the Auth0 dashboard undersettings.NEXT_PUBLIC_AUTH0_ADMIN_EMAIL: This is the email of the admin user which you use while signing in Auth0. Admin is able to delete any comment.
Deploy Your Local Project
To deploy your local project to Vercel, push it to GitHub/GitLab/Bitbucket and import to Vercel.
Important: When you import your project on Vercel, make sure to click on Environment Variables and set them to match your .env.local file.