
Next.js Blog with microCMS
Type: Code
Framework: Next.js
CSS: CSS Modules
- Overview: Official microCMS simple blog template built with Next.js, enabling easy content authoring and editing.
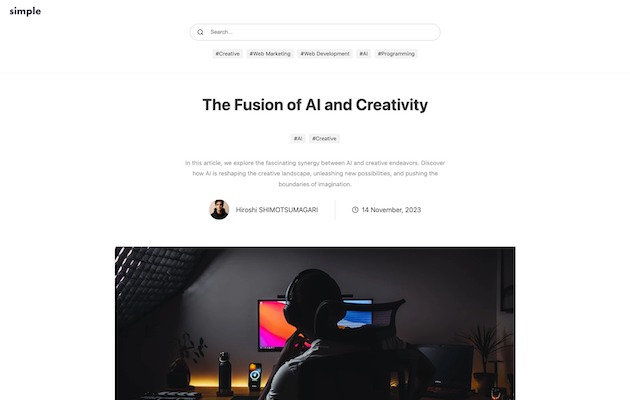
- Demo: Experience the live demo at https://simple-blog-with-microcms.vercel.app/.
Configuration Steps:
- microCMS Account and Service:
- Sign up for microCMS.
- Create a new service on the dashboard, selecting “Create your own” with a custom Service Name and ID.
- API Creation:
- Tag API: For blog tags, accessible at
/create-api. Requires anamefield. - Writer API: For author information, accessible at
/create-api. Includes fields forname,profile, andimage. - Blog API: For blog content, accessible at
/create-api. Includes fields fortitle,description,content,thumbnail,tags, andwriter.
- Tag API: For blog tags, accessible at
- Content Entry:
- Populate content for tag, writer, and blog APIs in the specified order.
Running Locally:
- API Key: Retrieve the “default” API Key from the microCMS dashboard under “/api-keys”.
- Environment Variables: Create a
.env.localfile withMICROCMS_API_KEY,MICROCMS_SERVICE_DOMAIN, andBASE_URL. - Development Server:
- Ensure Node.js version 18+ is installed.
- Install dependencies with
npm install. - Run the server using
npm run devand access the app athttp://localhost:3000.
Deployment:
- Import your project to Vercel and configure environment variables (
MICROCMS_API_KEY,MICROCMS_SERVICE_DOMAIN,BASE_URL). - Deploy directly from the provided template by setting the required environment variables.
Appendix:
- Page Preview: Setup in microCMS “API Settings > Page Preview” for the Blog API to preview draft content.